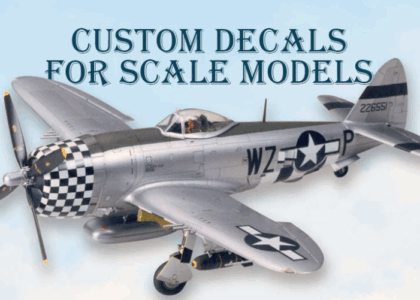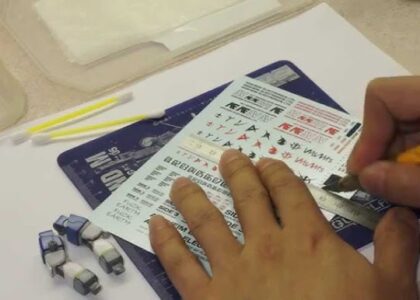
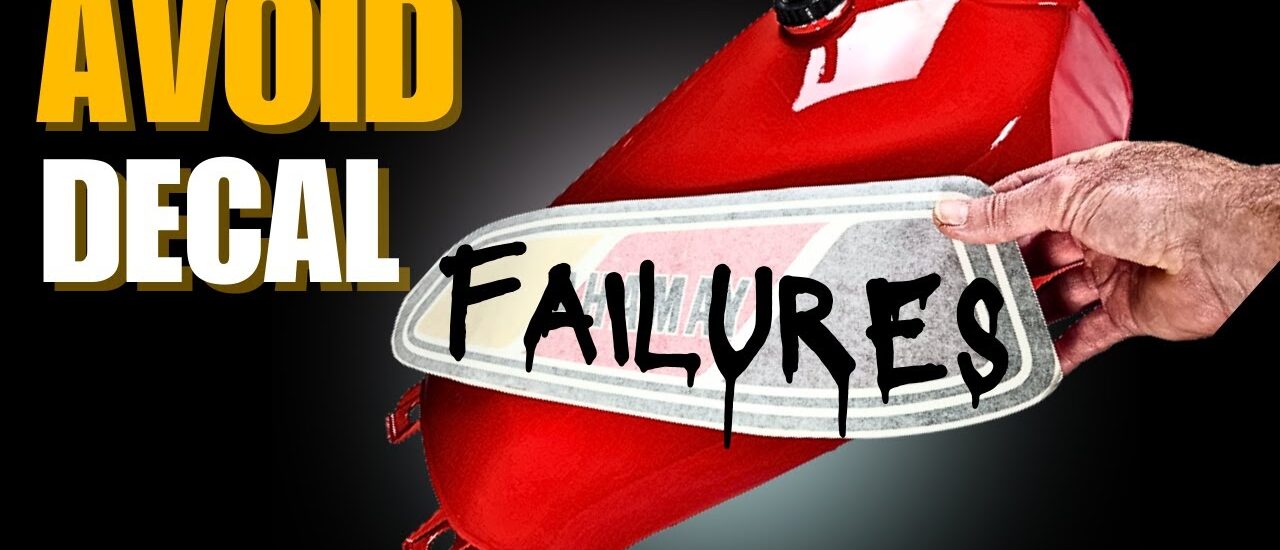
Applying decals is one of the most rewarding stages of building a scale model. A well-applied decal can transform a good model into a realistic masterpiece. However, even experienced modelers can encounter issues such as silvering, tearing, wrinkles, or poor adhesion if decals are not applied correctly.
At DNH Decals, we want every customer to achieve the best possible results. In this guide, we’ll explore the most common decal application mistakes and provide practical tips to help you avoid them.
Why Proper Decal Application Matters
Waterslide decals are designed to conform closely to the surface of your model, creating the appearance of painted-on markings. Correct preparation and application are essential to achieve a professional finish.
Taking a little extra time during application can make a significant difference to the final appearance of your model.
Mistake #1: Applying Decals to a Matte Surface
One of the most common mistakes is applying decals directly onto a flat or matte-painted surface.
A matte finish contains tiny microscopic textures that trap air beneath the decal. This often causes a cloudy or silvery appearance known as silvering.
How to Avoid It
Before applying decals:
- Apply a smooth gloss clear coat.
- Allow the gloss coat to cure completely.
- Apply decals only to a clean, glossy surface.
After the decals have fully dried, you can finish the model with your preferred gloss, satin, or matte clear coat.
Mistake #2: Not Cleaning the Model Surface
Dust, fingerprints, polishing residue, or oils from handling the model can prevent decals from adhering properly.
How to Avoid It
Before applying decals:
- Wash the model if necessary.
- Wipe the surface with a clean, lint-free cloth.
- Avoid touching the decal area with bare fingers.
A clean surface helps the decal bond properly and reduces the chance of lifting later.
Mistake #3: Soaking Decals for Too Long
Leaving decals in water for an extended period can weaken the adhesive and make the decal difficult to handle.
How to Avoid It
Instead of soaking for several minutes:
- Dip the decal in clean, lukewarm water for 10–20 seconds.
- Place it on a clean surface for 20–40 seconds.
- Wait until the decal slides freely from the backing paper.
This method gives the adhesive time to activate without becoming overly soft.
Mistake #4: Rushing the Positioning
Trying to force the decal into position can cause it to fold, stretch, or tear.
How to Avoid It
- Keep the surface slightly wet while positioning.
- Slide the decal gently from the backing paper.
- Use a soft brush or damp cotton bud to move it into place.
- Work slowly and carefully.
Patience results in a much cleaner finish.
Mistake #5: Ignoring Curved or Detailed Surfaces
Applying decals over rivets, panel lines, or compound curves without using decal-setting solutions often leaves wrinkles or air pockets.
How to Avoid It
Use decal setting and softening solutions where appropriate to help the decal conform to surface details.
These solutions allow the decal to settle naturally around raised and recessed features, creating a painted-on appearance.
Always allow the decal to dry completely before touching it again.
Mistake #6: Touching Decals Before They’re Dry
Fresh decals are delicate. Moving or pressing them before they have fully dried can damage the artwork or shift their position.
How to Avoid It
Allow the decals to dry undisturbed for several hours, or preferably overnight, before handling the model or applying additional finishing products.
Mistake #7: Trapping Air Bubbles
Small air bubbles beneath the decal can spoil an otherwise perfect finish.
How to Avoid It
After positioning the decal:
- Gently roll a damp cotton bud across the surface.
- Work from the centre outward.
- Apply light pressure to remove excess water and trapped air.
Avoid rubbing aggressively, as this may damage the decal.
Mistake #8: Applying a Clear Coat Too Soon
Applying a protective clear coat before the decals have completely dried may cause clouding, movement, or trapped moisture.
How to Avoid It
Allow decals to dry thoroughly before sealing them with a clear coat. Waiting at least 24 hours is generally recommended for the best results.
Mistake #9: Using Low-Quality Decals
Even perfect application techniques cannot compensate for poor-quality decals.
Low-resolution artwork, inaccurate colours, thin white printing, or weak adhesives can affect the final appearance of your model.
How to Avoid It
Choose professionally designed and printed decals from a trusted supplier.
At DNH Decals, every design is carefully recreated and professionally printed using:
- High-resolution artwork
- Accurate colour reproduction
- 200% white opacity for excellent coverage
- Premium waterslide decal materials
- Optional pre-cut decals for easier application
Our goal is to help modelers achieve realistic, long-lasting results.
Mistake #10: Skipping the Final Protective Clear Coat
Many builders leave decals unsealed after application.
Although decals may look fine initially, they can become vulnerable to scratches, weathering, and handling over time.
How to Avoid It
Once the decals have fully cured:
- Apply a clear gloss, satin, or matte finish depending on your desired appearance.
- This protects the decals and blends them into the painted surface for a more realistic look.
Extra Tips for Professional Results
For the best possible finish:
- Work in a clean, dust-free area.
- Use clean, lukewarm water.
- Handle decals gently.
- Allow adequate drying time between each step.
- Test unfamiliar products before using them on an important project.
- Keep spare decals stored in a cool, dry location away from direct sunlight.
Why Modelers Choose DNH Decals
Whether you’re replacing vintage decals, creating a custom project, or producing decals for commercial use, DNH Decals is committed to providing products that help you achieve professional results.
We offer:
- Custom decal design and artwork recreation
- High-resolution waterslide decal printing
- 200% white opacity for vibrant colours
- Optional pre-cut decals
- No minimum order quantity
- Design approval before printing
- Worldwide shipping
Our decals are created with precision and attention to detail, giving hobbyists, clubs, and manufacturers the confidence to complete their projects with outstanding results.
Final Thoughts
Most decal problems can be avoided with proper preparation, patience, and quality materials. By applying decals to a clean gloss surface, allowing sufficient drying time, using the right techniques, and choosing professionally printed decals, you can achieve a finish that looks as though it was painted directly onto the model.
At DNH Decals, we’re proud to support modelers around the world with custom decal design and professional printing services. Whether you need a single replacement decal or a complete custom sheet, we’re here to help bring your next project to life.