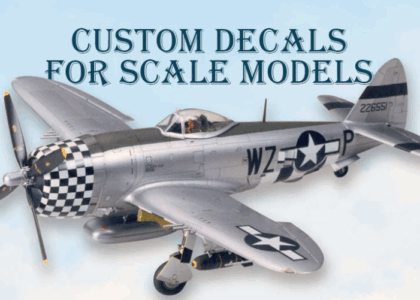
Applying waterslide decals is one of the most exciting parts of completing a scale model. These decals add authentic markings, logos, striping, and fine details that transform a plain model into a realistic replica. While the process may seem intimidating at first, it’s actually straightforward with the right preparation and technique.
Whether you’re building your first model or looking to improve your results, this step-by-step guide will help you apply waterslide decals like a professional.
At DNH Decals, we produce high-quality custom waterslide decals for hobbyists, clubs, and manufacturers worldwide. We’ve created this guide to help you achieve the best possible finish with every project.
What Are Waterslide Decals?
Waterslide decals are ultra-thin printed graphics mounted on a special backing paper. When soaked in water, the printed film separates from the backing and can be carefully slid onto your model.
Once dry and sealed with a clear coat, properly applied waterslide decals blend into the surface, creating the appearance of painted-on markings.
Tools You’ll Need
Before you begin, gather the following items:
- Waterslide decal sheet
- Small bowl of clean, lukewarm water
- Tweezers
- Small, soft paintbrush
- Cotton buds or cotton swabs
- Paper towels or a lint-free cloth
- Hobby knife or small scissors
- Decal setting solution (optional)
- Decal softening solution (optional)
- Clear gloss, satin, or matte finish for sealing
Having everything ready before you start makes the application process much easier.
Step 1: Prepare the Model Surface
A smooth surface is essential for achieving professional-looking decals.
If your model has a matte finish, apply a clear gloss coat before adding decals. A glossy surface reduces the chance of air becoming trapped beneath the decal, helping prevent silvering and improving adhesion.
Before applying decals:
- Ensure the paint is fully cured.
- Remove dust and fingerprints.
- Wipe the surface with a clean, lint-free cloth.
A clean, smooth surface provides the best foundation for decal application.
Step 2: Cut Out the Decal
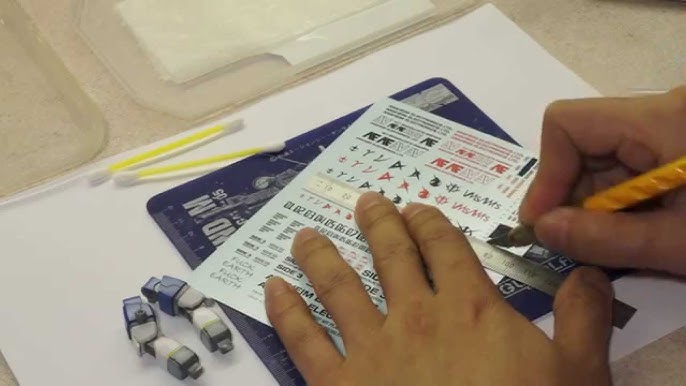
Using sharp scissors or a hobby knife, carefully trim around the decal you want to apply.
Leave only a small margin around the printed image where practical. Smaller edges help the decal blend more naturally into the painted surface.
If you’re using pre-cut decals from DNH Decals, this step is even easier because the decals are already precision cut and ready to use.
Step 3: Soak the Decal
Fill a small bowl with clean, lukewarm water.
Dip the decal into the water for approximately 10 to 20 seconds, then remove it and place it on a clean surface.
Allow the decal to sit for another 20 to 40 seconds. During this time, the adhesive activates and the decal begins to slide freely from the backing paper.
Avoid leaving decals in water for too long, as excessive soaking can weaken the adhesive.
Step 4: Position the Decal
Lightly moisten the area where the decal will be placed.
Hold the backing paper close to the model and gently slide the decal onto the surface using a soft brush.
Take your time adjusting the position until it is perfectly aligned.
Because the surface is still wet, you’ll have a few moments to make small adjustments before the decal begins to settle.
Step 5: Remove Excess Water and Air
Once the decal is correctly positioned, gently roll a damp cotton bud across the surface.
Work from the centre outward to remove:
- Excess water
- Trapped air bubbles
- Wrinkles
Avoid rubbing the decal aggressively, as it may stretch or tear.
A gentle rolling motion works best.
Step 6: Apply Decal Setting Solution (Optional)
For flat surfaces, this step may not always be necessary.
However, if your model includes:
- Rivets
- Panel lines
- Curved surfaces
- Compound curves
A decal setting or softening solution can help the decal conform more closely to the model.
These products soften the decal film, allowing it to settle into recessed and raised details for a more realistic painted-on appearance.
Once applied, avoid touching the decal until it has completely dried.
Step 7: Allow the Decal to Dry
Patience is important.
Allow the decals to dry naturally for several hours, or preferably overnight.
Avoid handling the model during this time to prevent shifting or damaging the decals.
Step 8: Seal the Decals
After the decals have fully dried, protect them with a clear finish.
Depending on the appearance you want, choose:
- Gloss clear coat
- Satin clear coat
- Matte clear coat
Sealing the decals:
- Protects them from scratches and handling
- Improves durability
- Blends the decal edges into the painted surface
- Creates a realistic, professional finish
Common Beginner Mistakes to Avoid
Many decal problems are easy to prevent with proper preparation.
Avoid these common mistakes:
- Applying decals to a matte surface
- Soaking decals for too long
- Handling decals roughly
- Touching decals before they are dry
- Trapping air beneath the decal
- Applying a clear coat too early
- Rushing the positioning process
Working slowly and carefully will produce much better results.
Why Choose DNH Decals?
At DNH Decals, we’re passionate about helping modelers achieve outstanding results.
Our custom waterslide decals are professionally designed and printed using premium materials to ensure sharp detail, vibrant colours, and reliable performance.
We offer:
- Custom decal design and artwork recreation
- High-resolution waterslide decal printing
- 200% white opacity for excellent colour coverage
- Optional pre-cut decals
- No minimum order quantity
- Design approval before printing
- Worldwide shipping
Whether you need a replacement decal, a one-off custom sheet, or decals for commercial production, we’re here to help.
Final Thoughts
Applying waterslide decals may seem challenging at first, but with the right tools, careful preparation, and a little patience, anyone can achieve professional-looking results.
By preparing a smooth surface, handling decals gently, allowing enough drying time, and sealing your finished work with a clear coat, you’ll create models that look realistic and stand the test of time.
If you’re looking for high-quality custom waterslide decals, DNH Decals offers professional design, precision printing, and worldwide shipping to support hobbyists, clubs, and manufacturers alike. Whether it’s your first model or your hundredth, we’re here to help you bring every project to life with decals that look as good as the model itself.